


How to Install Concrete Block Paving
If you have decided to install block paving yourself rather than employing the services of a professional, there are a number of things you need to prepare and some important steps to follow to make sure your block paving looks good and performs well for many years, letting you enjoy your outdoor space.
Below are some useful tips on how to lay block paving and how to lay a driveway, and examples of the steps you should to go through for the most basic of block paving installations.
Check List
Before you start to lay your block paving, make sure you have everything you need. Below is a list of tools and materials you will need.
Spade, rake, broom, club hammer, chisel, spirit level, string line, tape measure, screed bar or straight timber, cutting tool (e.g. disc cutter or block cutter), cement mixer (not essential) and compactor (mechanical if possible), wheelbarrow and some personal protection equipment such as gloves, glasses and protective footwear.
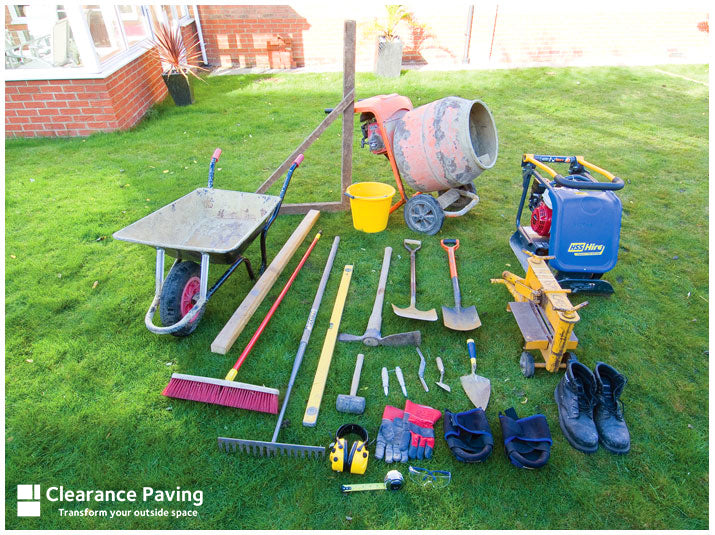
You will also need your choice of block paving, drainage items, edging or kerb, sharp sand, jointing sand, concrete mortar mix for haunching (job dependent), DTp Type 1 Sub-Base. Ask a local Builders Merchant who will be able to advise you on the volumes you need for your project.
Stage 1
Arrange your materials to be stacked nearby on dry ground.
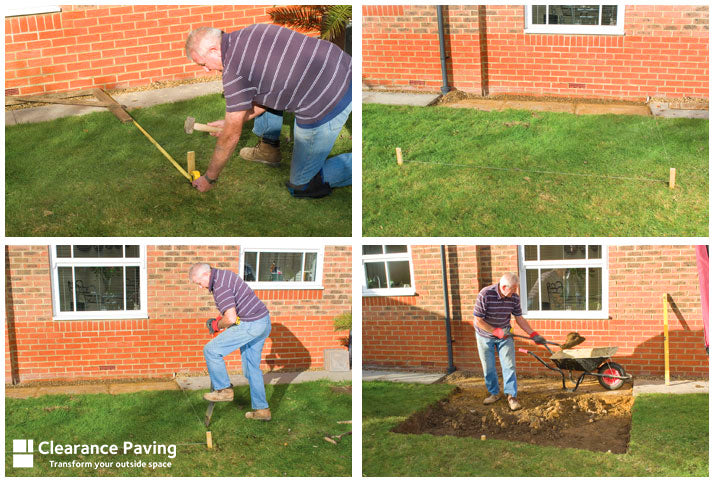
Mark out the paving area according to your plan. Clear all vegetation and remove the topsoil, consolidating and levelling the ground to a suitable depth to allow for bedding materials and the paving.
Remember the top surface of the paving should be at least 2 brick courses (150mm) below the level of any damp proof course when installed. If you need to fill any voids, use DTp type 1 sub-base material.
Stage 2
Use pegs and string line as a guide around the perimeter of the area to ensure an even finished surface and include a 1:80 fall (25mm per metre) as a drainage slope away from any buildings or fences.
Install any manhole covers or drainage channels following the manufacturer’s recommendations.
Stage 3
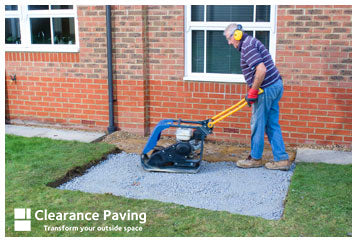
Fill the area with at least 50mm of sub-base material and compact well with a plate vibrator. Repeat twice to a total depth of at least 100mm after compaction to provide firm solid base.
Stage 4
Now its time to install your chosen edge restraint. To install, set the edge unit in approximately 100mm of concrete haunching (1 part cement, 5 parts building sand) half way up the side of the edge unit, so that the top surface is at the correct finished level. For driveways, we recommend you use one of our decorative kerb ranges for increased strength.
Stage 5
Once the haunching has dried, spread coarse sharp sand to a depth of 50mm, compact with the plate vibrator and spread a further 25mm of sharp sand over the area as a loose screed. Level the loose sand with a screed bar or straight edged timber. Be sure to follow the string lines to maintain any falls.

Stage 6
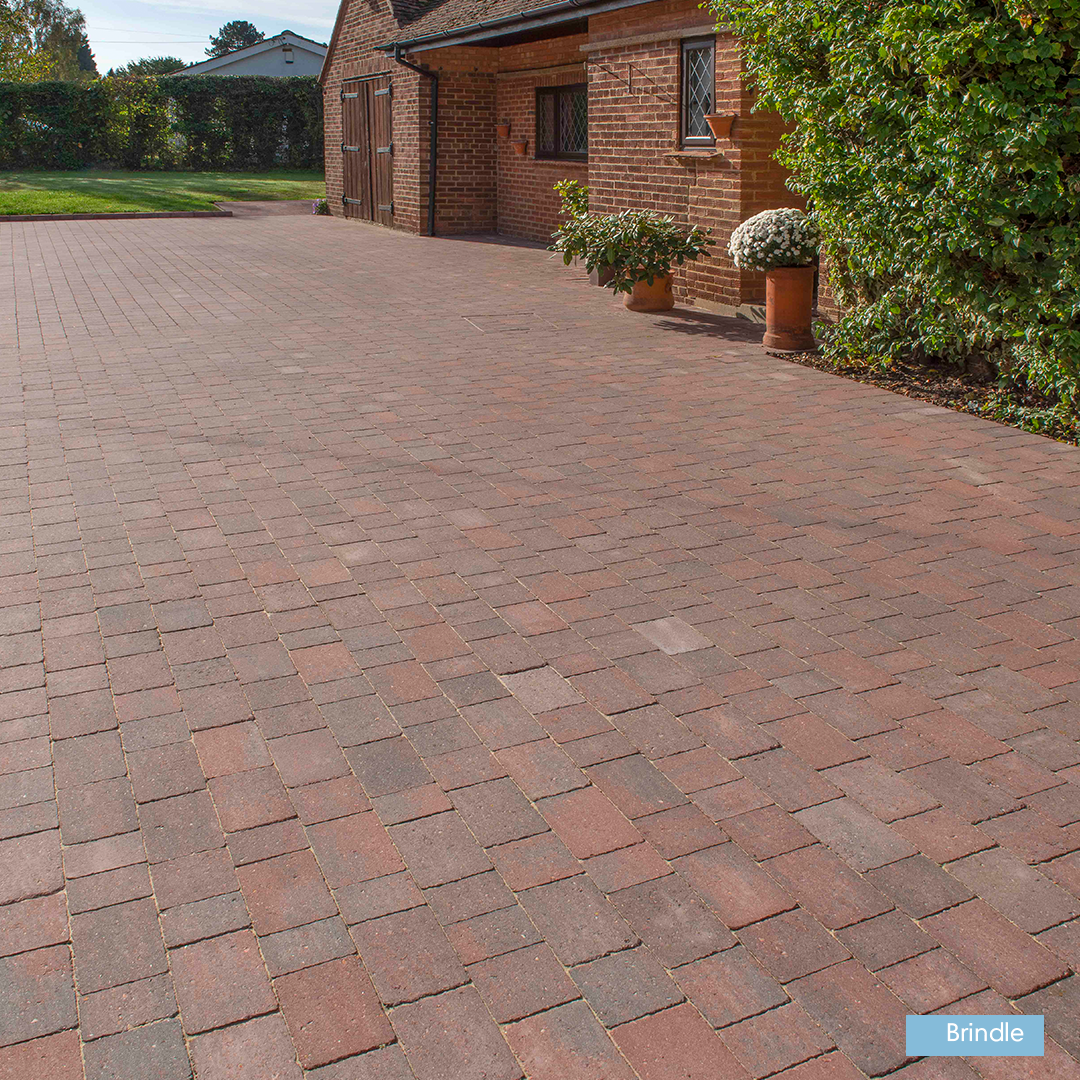
Lay blocks hand tight, following the chosen pattern, with a joint gap of 2-5mm, starting in one corner and at the bottom if there is a slope.
Block paving is best laid from three packs for single colours and as many as five for multi colours. This helps to provide the best effective colour blend, and avoid any colour mix patching. Take the time to occasionally stand back and review progress to make sure you are happy with the overall look.

Stage 7
Once the area is filled with whole blocks you will need to edge in. To do this, use a block cutter, disc cutter or bolster chisel and club hammer. Avoid using pieces smaller than a quarter of a block, and do not make them too tight.
Once complete, sweep the area thoroughly, particularly if you have been cutting on the laid block surface. Then check the paving to ensure none of the blocks have been damaged as now is the time to replace them.
Stage 8
Compact the whole area with 4 perpendicular passes of a plate vibrator in overlapping directions.
Sweep jointing sand across the whole area, ensuring all joints are filled. One 25kg bag of joint sand should cover about 5 sq.m. Only do this in dry weather to ensure the sand falls into the joints efficiently.

Stage 9
Use the plate vibrator over the whole area again and add more sand to the joints where necessary. Repeat until there are no gaps. You can leave a small amount of surplus sand on the paving to wash into the joints as they continue to settle.
Tips
When the installation has been completed, save some of the left over blocks and put them in the garden so that they weather at the same rate as the installation. Should your installation become stained or damaged, you will be able to replace some of the section with paving that will blend in quickly.
As it is a flexible surface, over the first 12 months the paving will continue to settle. This might result in further loss of sand, which should be topped up during this period.
If you intend on sealing block paving, it is best to wait 12-18months whilst any efflorescence is exposed and weathered. Sealing sooner can trap it, making it almost impossible to remove and discolouring your paving.
If you need to cut blocks to fit, use protection and measure carefully to avoid wastage.
Click here to download and print our Handy Guide to installation.
Hopefully you now know how to install block paving yourself.